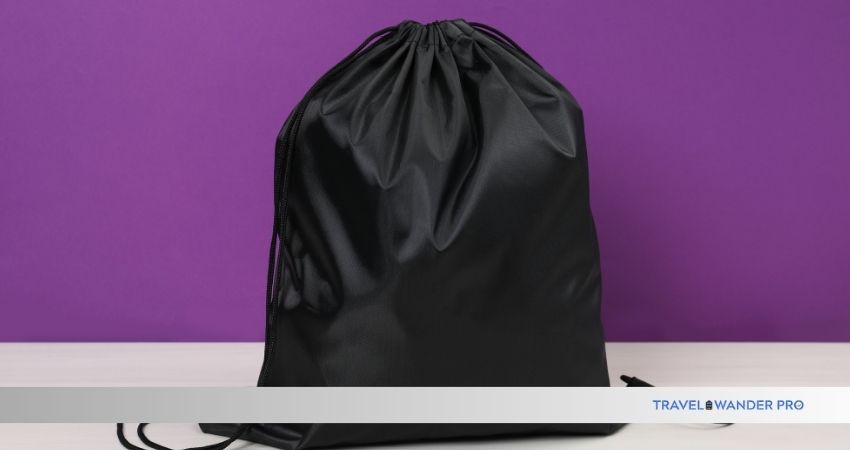
Are you looking for a simple, stylish, and practical bag you can make yourself? A drawstring backpack is perfect for carrying your essentials while keeping your hands free.
Imagine having a bag that fits your style and needs, made by you! In this guide, you’ll discover easy steps to create your own drawstring backpack, even if you’ve never sewn before. By the end, you’ll have a unique, functional bag that you’ll be proud to use every day.
Ready to get started? Let’s dive in!
Materials Needed
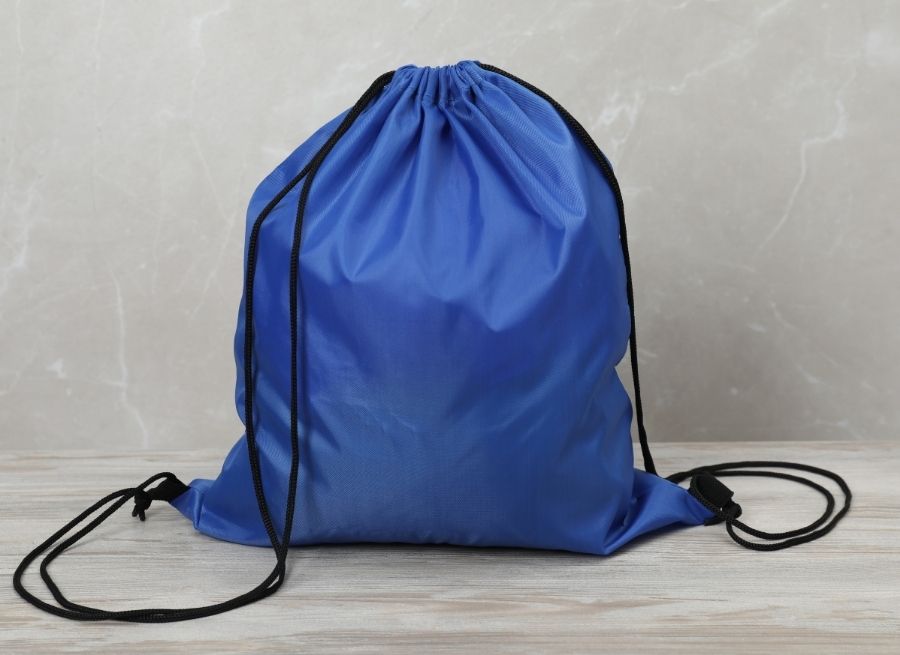
Making a drawstring backpack is simple with the right materials. Choosing good fabric and tools helps your project last long. This guide covers the main materials you will need.
We will look at fabric choices, essential tools, and drawstring options. Each section explains what you need and why it works well for backpacks.
Fabric Choices
Select fabric that is strong and easy to sew. Cotton canvas and nylon work well. Canvas is thick and holds shape. Nylon is light and water resistant. Avoid thin or stretchy fabrics.
- Cotton canvas
- Nylon fabric
- Denim
- Ripstop polyester
- Felt (for lightweight bags)
Essential Tools
| Tool | Purpose |
| Scissors | Cut fabric pieces |
| Measuring tape | Measure fabric accurately |
| Pins or clips | Hold fabric layers in place |
| Needle and thread | Sew fabric pieces together |
| Sewing machine (optional) | Speed up sewing |
| Safety pin | Thread drawstring through casing |
Drawstring Options
Choose drawstrings that are strong and comfortable. Cotton cords are soft and easy to tie. Nylon ropes last longer but can be slippery. You can also use ribbon for a decorative look.
- Cotton cord
- Nylon rope
- Polyester drawstring
- Ribbon or fabric strips
Cutting The Fabric
Making a drawstring backpack is fun and easy. The first step is cutting the fabric correctly.
Accurate measurements ensure your backpack is the right size. Follow these steps to cut fabric efficiently.
Measuring Dimensions
Before cutting, measure the fabric carefully. This helps you get the size you need for your backpack.
- Use a measuring tape to determine the length and width.
- Ensure you leave extra fabric for seams.
- Write down your measurements to avoid mistakes.
Marking And Cutting
Mark the fabric with chalk or a fabric marker. This helps guide your cuts.
After marking, use sharp scissors to cut the fabric along the lines. Ensure your cuts are smooth and straight.
Sewing The Backpack
Sewing a drawstring backpack is simple and fun. You will join fabric pieces to form the bag. Use a sewing machine or sew by hand for best results.
Follow clear steps to make sure your backpack is strong and neat. Pay attention to seams and openings for the drawstring.
Assembling The Pieces
Start by placing the front and back fabric pieces right sides together. Pin the edges to keep them aligned. Sew along the sides and bottom, leaving the top open.
- Align front and back pieces with right sides facing each other.
- Pin around the sides and bottom edges.
- Sew with a straight stitch using a ½ inch seam allowance.
- Backstitch at the start and end for durability.
- Trim any excess fabric from the seams.
Creating The Drawstring Channel
Fold the top edge of the backpack down twice to make a clean channel for the drawstring. Sew close to the fold to secure the channel.
| Action | Details |
| Fold fabric | Fold top edge down ½ inch twice |
| Pin fold | Keep fold even and straight |
| Sew channel | Stitch close to the bottom edge of fold |
| Check opening | Leave both sides open for drawstring |
Adding The Drawstrings
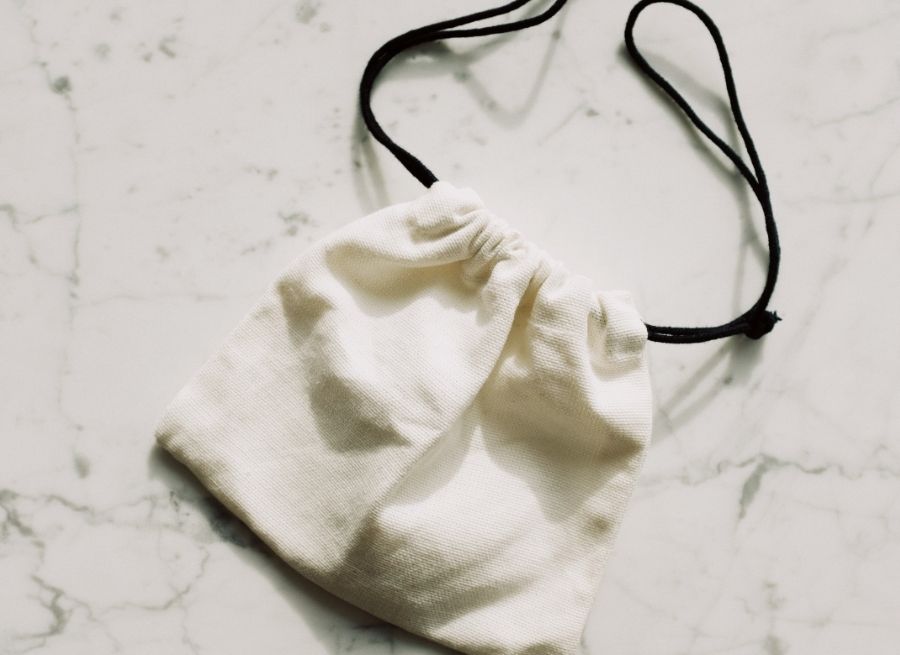
Adding the drawstrings is an important step in making your backpack functional. The strings allow you to open and close the bag with ease.
Make sure to choose strong cords that can handle the weight you plan to carry. The length should be comfortable to wear as shoulder straps.
Inserting The Drawstrings
Begin by threading the drawstrings through the top hem of the backpack. Use a safety pin to help guide the cord through the casing evenly on both sides.
- Attach a safety pin to one end of the drawstring.
- Push the pin into the opening of the casing.
- Work the pin and string all around the top edge.
- Pull both ends out from the bottom corners of the bag.
- Repeat the same with the second drawstring for the other side.
Finishing Touches
After threading the drawstrings, secure the ends so they do not slip back inside. Tie knots or add stoppers to keep them in place.
| Finish Type | Description |
|---|---|
| Knot | Simple knot tied at each string end to prevent slipping. |
| Beads | Attach beads as stoppers for a decorative look. |
| Heat Seal | Use heat to melt synthetic string ends to stop fraying. |
Test the drawstrings by pulling them to check the bag opens and closes smoothly. Adjust knots or length if needed.
Frequently Asked Questions
What Materials Do I Need To Make A Drawstring Backpack?
You need fabric, drawstring cords, scissors, sewing thread, and a sewing needle or machine.
How Long Does It Take To Sew A Drawstring Backpack?
Sewing a simple drawstring backpack usually takes about 30 to 60 minutes.
Can I Use Any Fabric For A Drawstring Backpack?
Yes, but choose strong, lightweight fabric like cotton or nylon for durability.
How Do I Sew The Drawstring Channels Properly?
Fold fabric edges, sew straight lines on both sides, leaving openings for cords.
How Do I Insert The Drawstring Into The Backpack?
Use a safety pin or bodkin to guide the cord through the fabric channels.
Conclusion
Making a drawstring backpack is simple and fun. You just need basic materials and a little time. Follow the steps carefully to create your own bag. It can be useful for school, sports, or trips. You can choose colors and designs you like.
This project helps you save money and learn new skills. Try making one today and enjoy carrying your things with style.