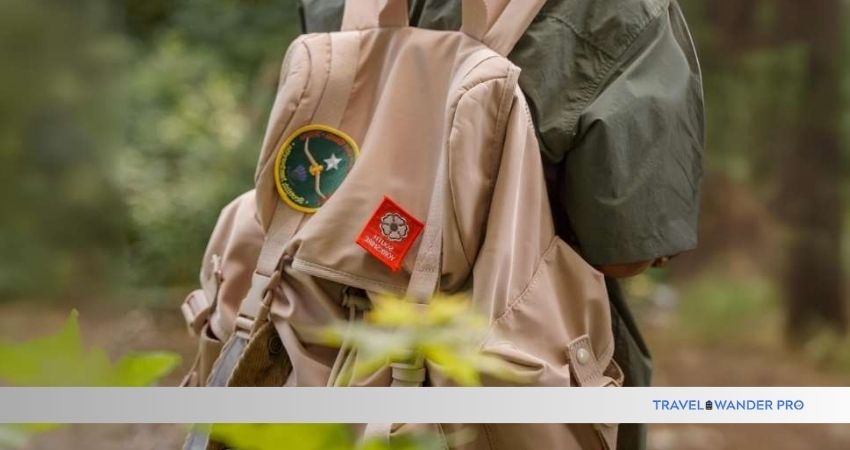
Do you have a favorite backpack that needs a little extra love? Maybe a patch fell off, or you want to add a cool design to make it truly yours.
Sewing a patch on your backpack might sound tricky, but it’s easier than you think. In this guide, you’ll learn simple steps to fix or customize your backpack quickly and securely. Keep reading, and by the end, you’ll have the skills to give your backpack a fresh, personal touch that lasts.
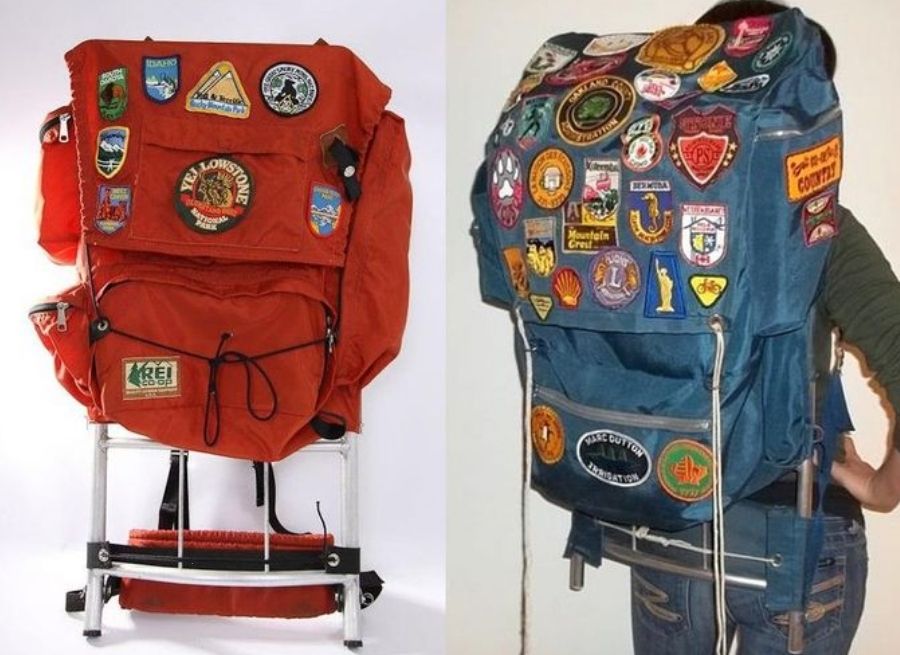
Choose The Right Patch And Thread
Sewing a patch on a backpack needs the right patch and thread. Picking good materials makes the patch last longer. It also keeps your backpack looking neat.
This guide will help you select the right patch material and match the thread color well. These choices help your patch blend or stand out as you want.
Select Patch Material
Choose a patch material that fits your backpack’s fabric. Some materials work better than others for sewing and durability.
- Canvas:Thick and durable, good for heavy backpacks.
- Denim:Strong and stylish, matches many fabrics.
- Leather:Tough and water-resistant, but harder to sew.
- Iron-on patches:Easy to apply but less durable than sewn patches.
- Embroidered fabric:Adds detailed designs and texture.
Match Thread Color
Picking the right thread color helps your patch look neat. You can choose to hide the stitches or make them part of the design.
| Thread Color | Effect |
| Same as patch | Invisible stitches, clean look |
| Same as backpack | Blends patch with backpack |
| Contrasting color | Makes stitches stand out |
| Metallic thread | Adds shine and decoration |
Prepare The Backpack And Patch
Sewing a patch on a backpack can make it unique. It’s important to prepare both the backpack and the patch before you start sewing.
This guide will help you clean the area and position the patch correctly. Let’s get started with the preparations.
Clean The Area
First, clean the spot where you will sew the patch. A clean area helps the patch stick better and stay in place.
Use a damp cloth to gently wipe the area. Make sure the backpack is dry before you move on to the next step.
- Wipe the area with a damp cloth
- Ensure the spot is dry before sewing
Position The Patch
Place the patch where you want it on the backpack. Make sure it is straight and centered.
Check if the patch looks good from different angles. Adjust it until you are happy with its position.
- Align the patch with the backpack’s design
- Secure it with pins if necessary
Sew The Patch Securely
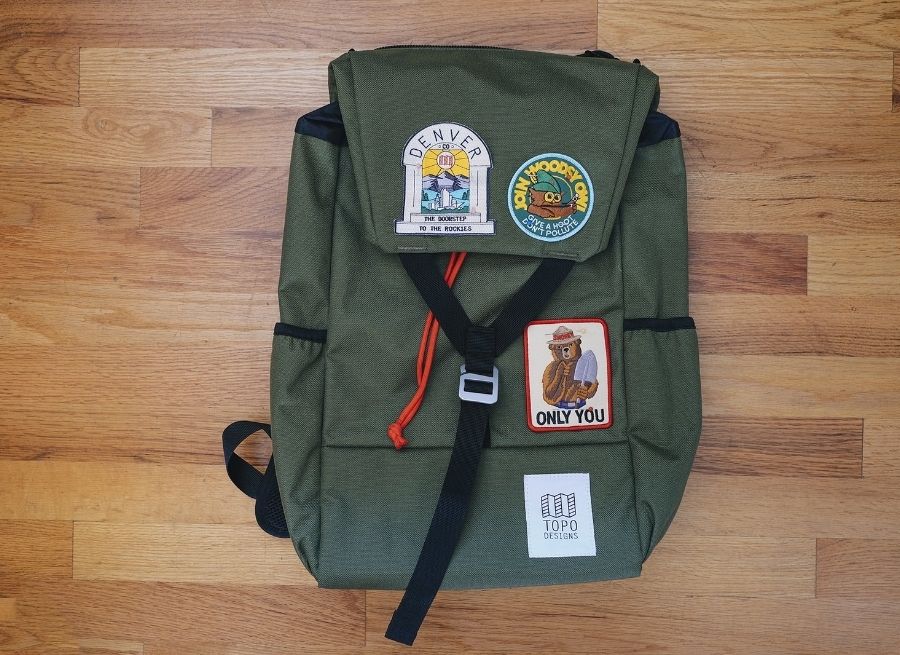
Sewing a patch on a backpack helps keep it in place and looks neat. You need to sew it tightly so it does not fall off.
Using the right technique makes the patch last long. Let’s look at how to sew it securely.
Use The Right Stitch
Choose a strong stitch to attach the patch. A straight stitch or a whip stitch works well for patches on backpacks.
Make sure the stitches go around the edge of the patch. This keeps the patch firmly attached and stops the edges from lifting.
- Straight stitch: Sew in a straight line close to the patch edge.
- Whip stitch: Sew around the edge in a looping motion.
- Backstitch: Use for extra strength by overlapping stitches.
Maintain Even Tension
Keep your thread tension even while sewing. Too tight stitches can pucker the fabric. Too loose stitches will not hold well.
Pull the thread gently after each stitch. This will keep the patch flat and secure without damaging the backpack fabric.
- Pull thread gently, not too hard.
- Keep stitches close but not overlapping.
- Check the patch often to keep it flat.
Finish And Reinforce The Patch
After sewing a patch on your backpack, it is important to finish and reinforce it. This helps the patch stay strong and last longer.
Finishing touches prevent the patch from fraying or coming loose over time. Let’s look at two key steps to secure your patch well.
Tie Off Threads
Tie off the threads securely to stop stitches from unraveling. Use a strong knot at the end of your sewing line.
Make sure the knot is tight and close to the fabric. Cut off any extra thread, but leave a small tail.
- Pull the needle through the last stitch loop
- Wrap thread around the needle twice
- Pull needle through loop to form a knot
- Repeat knot for extra security
- Trim thread tail to about 1/4 inch
Add Extra Support
Extra support keeps the patch firmly in place. You can sew around the patch edges once more or use fabric glue under the patch.
Double stitching or zigzag stitching helps hold the patch better. Avoid heavy glue that can stiffen the fabric.
- Sew a second row of stitches near the patch edge
- Use zigzag stitch for flexible hold
- Apply fabric glue sparingly if needed
- Press the patch gently to set glue
- Let glue dry fully before use
Frequently Asked Questions
How Do I Prepare My Backpack For Sewing A Patch?
Clean the area and flatten the fabric. Mark where you want the patch to go.
What Type Of Needle Is Best For Sewing Patches?
Use a strong, sharp needle. A denim or upholstery needle works well.
Which Thread Should I Use To Sew A Patch On A Backpack?
Choose a thick, durable thread. Polyester or nylon thread is ideal.
How Do I Sew A Patch Securely Without A Sewing Machine?
Use small, tight stitches by hand. Double the thread for extra strength.
Can I Sew A Patch On A Waterproof Backpack?
Yes, but sew carefully to avoid holes. Use waterproof thread and seal edges.
Conclusion
Sewing a patch on your backpack is simple and fun. Choose the right patch and thread first. Pin it carefully so it stays in place. Use small stitches for a strong hold. Take your time and sew around the edges neatly.
This fixes holes and adds style too. Now your backpack looks unique and lasts longer. Try this easy skill on other clothes as well. Keep practicing, and sewing will feel natural soon.